Tutorial
The MY HERO Project will not knowingly publish any work that has been plagiarized or reproduced from any other source and will not promote hate, violence or prejudice anywhere on our website.
Video Tutorial: How to Create a Story Page
Step by Step Instructions with Images: How to Create a Story Page
Using the Create Program to Publish Written Stories
Include the name of your hero and then add your text. (It is recommended that students write, revise and edit their story using a word processing program and paste the story into the create program.)
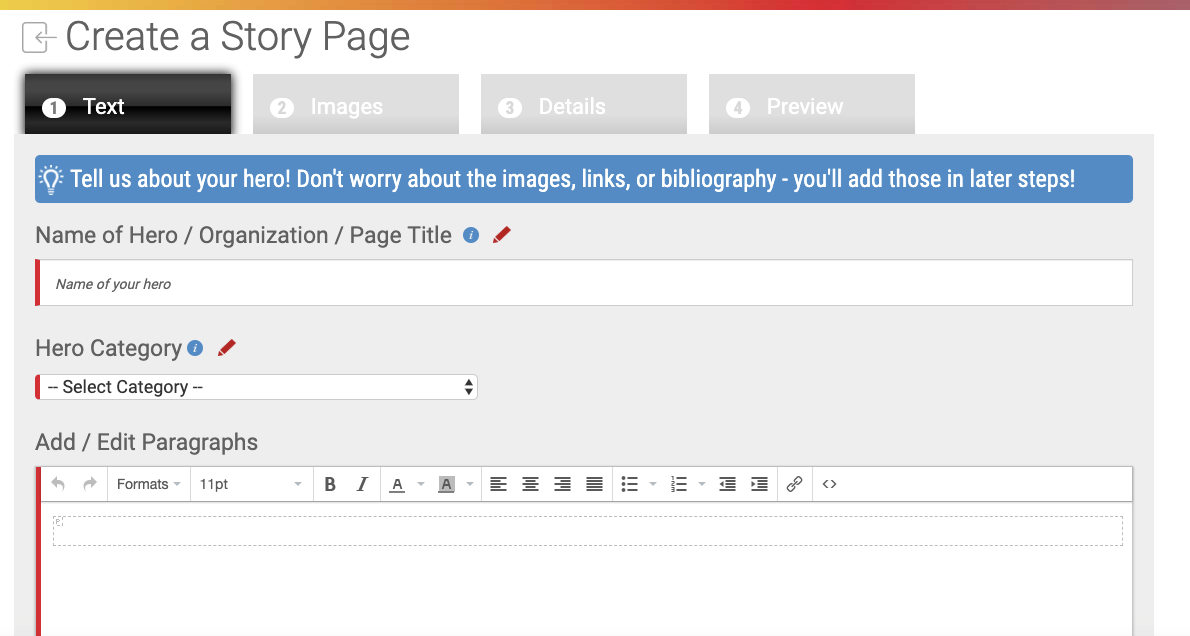
Click on the 'Next' button to go to Upload Images section.
The light blue arrow will allow you to upload an image from your computer.
(Please note that MY HERO only accepts images from the public domain or original images and artwork.)
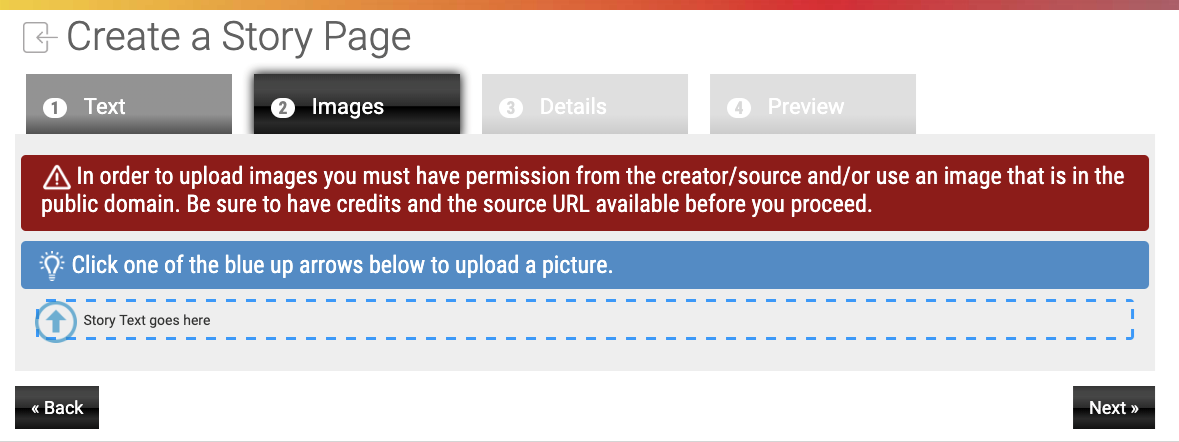
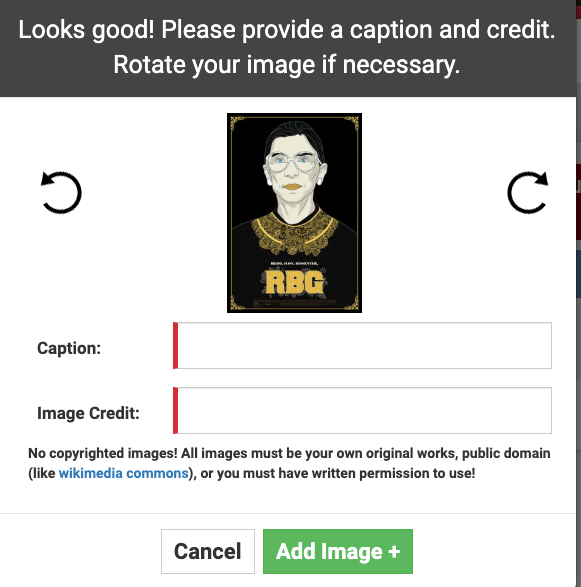
Once you have uploaded an image, you need to add a Caption and the Image Credit.
You can add multiple images after you add an image with the caption and credit.
Click on the light blue arrow to select another image, add the caption and credit.
When all images have been uploaded, click Add Image.
Once you have added your image, you can decide how it should appear.

Add your name and location for the Credit. You may add Links to additional information.
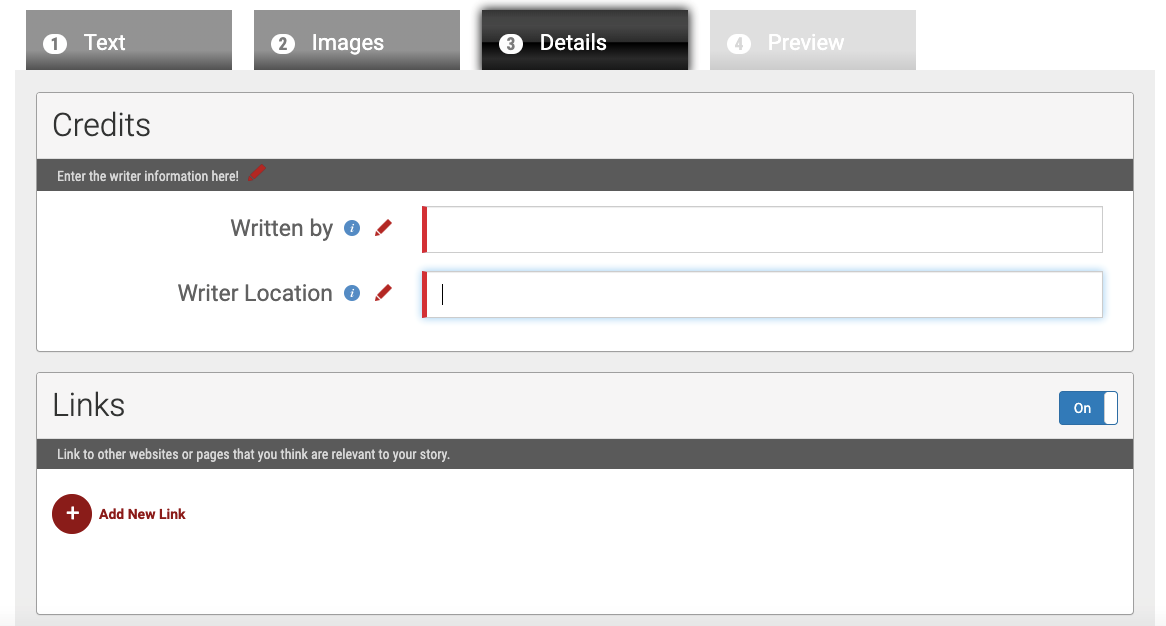
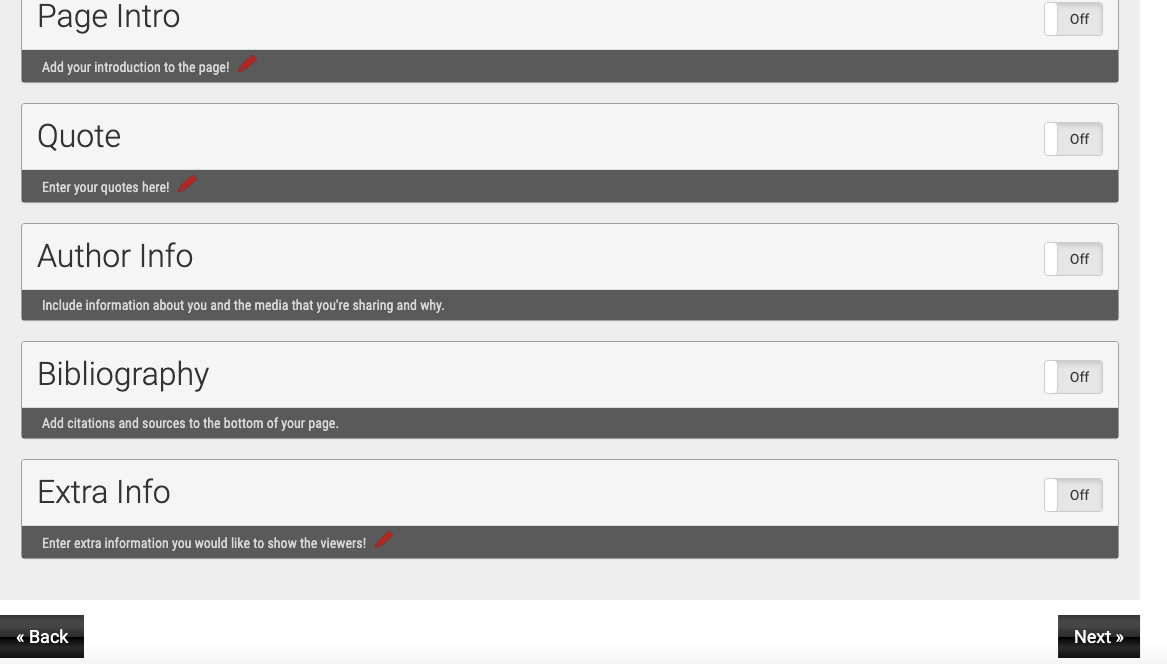
Scroll down to add an Introduction, Quote from your Hero, information about you as the author and the bibliography.
The bibliography is required if you have done any research, but the other information, although helpful, is optional.
Then click Next to review your story before submitting it to MY HERO for approval and publication.
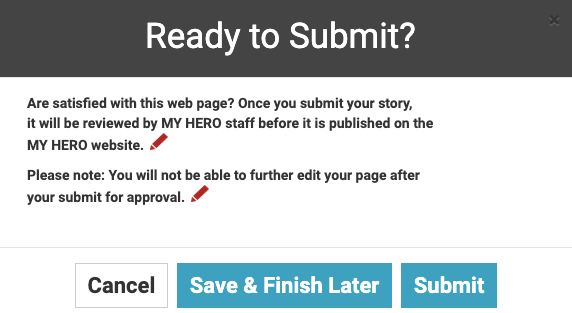
Review your story and if you are satisfied that it is ready to be submitted, click on finish.
Don't forget to click SUBMIT for your story to be reviewed by MY HERO.
Organizer created on 8/26/2019 3:12:49 PM by Laura Nietzer
Last edited 7/13/2021 3:44:33 PM by Laura Nietzer